

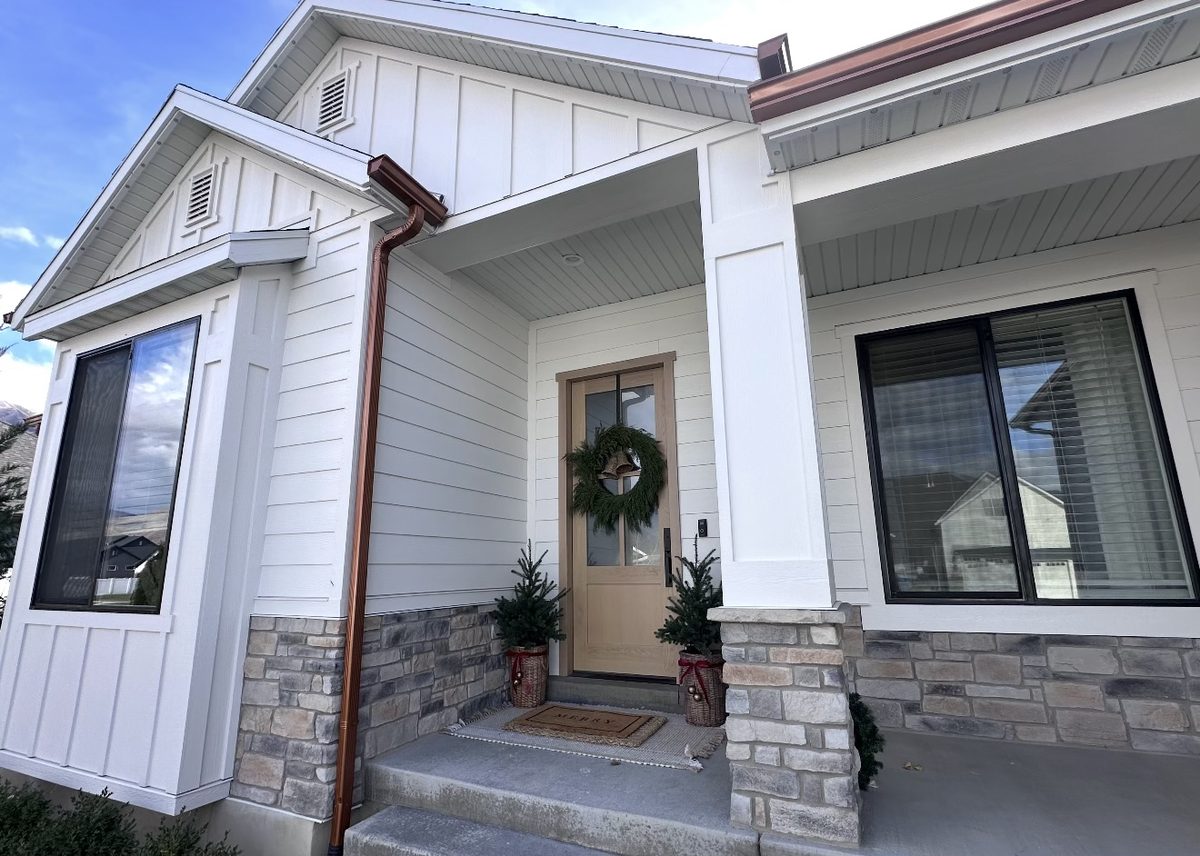
James Hardie fiber cement siding is often sold as a low-maintenance upgrade from wood, and compared to painted wood siding, it is. But “low-maintenance” isn’t the same as “no-maintenance.” In Utah’s dry climate, with intense UV at elevation and wide seasonal temperature swings, skipping a few basic checks can shave years off a Hardie installation that’s otherwise built to last three decades or more. Here’s the maintenance schedule we recommend to homeowners in Utah County, Salt Lake County, and St. George.
Inspect Caulking Every 1 to 2 Years
Hardie panels are installed with small gaps at butt joints, trim, and corners that get sealed with a flexible caulk or sealant – not the siding itself, which doesn’t expand and contract much. That caulk is the first thing to fail. Utah’s low humidity and sun exposure dry out and crack cheaper sealants faster than in wetter climates, and once a bead splits, moisture gets behind the panel instead of running off it. Walk the exterior once a year, focus on south- and west-facing walls, and recaulk any joint that’s cracked, pulled away, or chalky.
Plan to Repaint on a Schedule, Not When It Looks Bad
Factory-applied ColorPlus finishes typically hold up 15 years or more before they need attention, but field-applied paint – common on trim, cut edges, and touch-ups – usually needs a fresh coat every 7 to 10 years in our climate. Waiting until paint is visibly peeling means moisture has likely already reached the substrate underneath. Budgeting for repainting on a schedule, rather than reacting to how it looks, keeps the material doing its job.
Keep Ground Clearance and Watch Sprinklers
Hardie siding should sit at least 6 inches above soil, mulch, or hardscape, and even further above a roofline below it. Landscaping that creeps up over the years, or sprinkler heads that spray directly onto the lower courses, are two of the most common causes of early moisture damage we see on Hardie homes here. Both are easy fixes once you know to look for them.
Make Sure Cut Edges Stay Sealed
Any time a panel is field-cut – during original installation, a remodel, or a repair – the exposed edge needs to be primed and sealed, since the factory coating doesn’t extend to a cut made on site. This is one of the most frequently skipped steps on lower-bid installations, and it’s also one of the hardest for a homeowner to spot without climbing a ladder. If your siding was installed by a different contractor, it’s worth having someone check cut edges around windows, doors, and corners.
Do a Seasonal Walk-Around
The best windows to inspect are early fall, before winter moisture arrives, and again in spring after the freeze-thaw cycle has had its say. Look for hairline cracks at panel seams, chipped or peeling paint, soft spots near the bottom courses, and any staining that suggests water is tracking somewhere it shouldn’t.
None of this is complicated, but it’s easy to let slide on siding that looks fine from the street. If it’s been a while since anyone has checked your home’s caulking, paint, or ground clearance – or you’re due for a repaint and want it done right – contact Ridgeline Home Exteriors for an inspection.